Showing posts with label black. Show all posts

Tammy Taylor - Dazzle Rocks Nail Polish

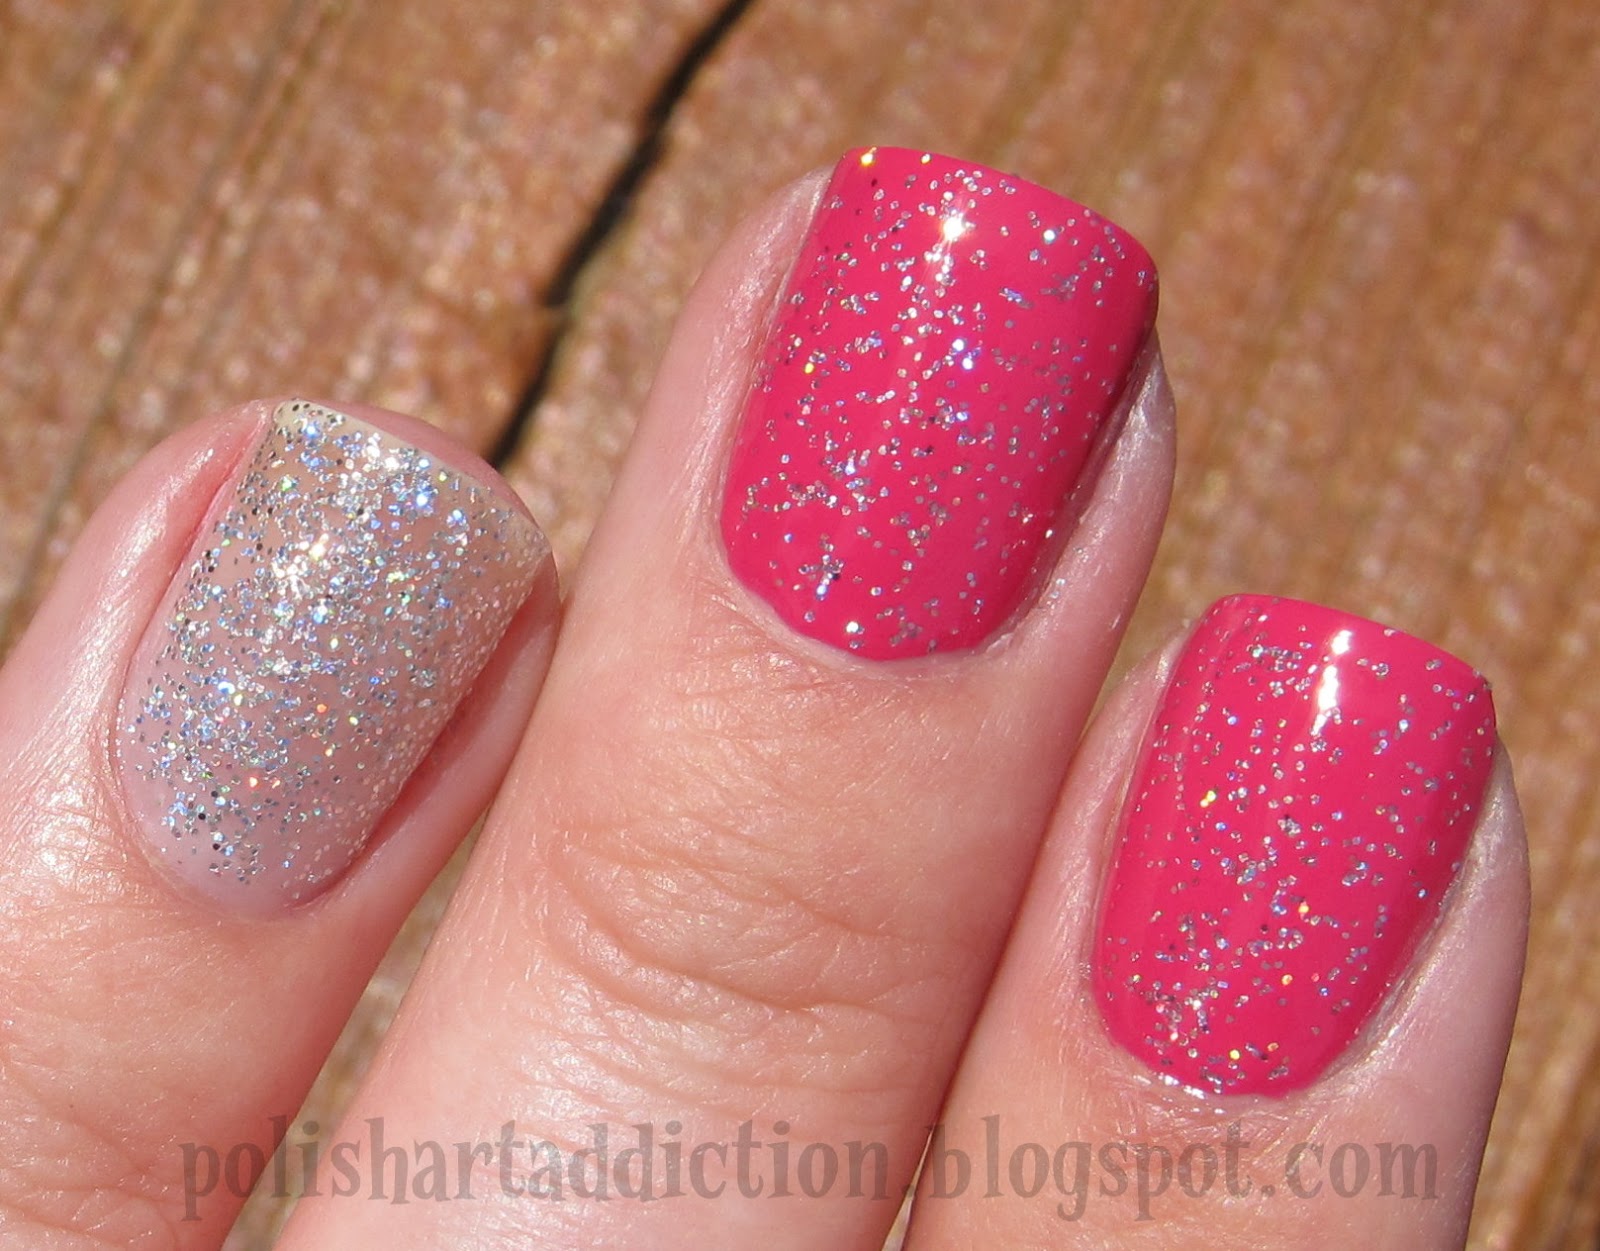
These are her Dazzle Rocks Nail Polishes, various color glitters suspended in a clear polish base.
I can't find them on the painful Tammy Taylor Website, so I don't have a link or prices... Sorry.
They are each labeled with "Dazzle Me Up" red, blue, or black. The silver one is different, it's Dazzle Me Up Stardust and my gold bottle is missing a label, so I don't know if it's called gold, or something fancier.
 
For each of these swatches I used one coat over the colored nail polishes so you could see the opacity. The ring finger nail shows 3 coats of the Dazzle Rocks nail polish over my natural nail.
 
Stardust over China Glaze Laced Up

 
Mystery gold color over Sinful Colors Endless Blue


Blue over Sally Hansen Xtreme Wear Green With Envy


Black over Sally Hansen CSM Lavender Cloud
(I really like how it's a mix of black and silver)


Red over theBalm Mellow Yellow

The glitter polishes were easy to apply and the glitter seems to disperse evenly without any extra effort. Each of them are pretty topcoat hungry in that it looked best with 2 coats of Seche Vite topcoat.

More aboutTammy Taylor - Dazzle Rocks Nail Polish

Twilight Gradient

Not like the movie Twilight, just in that this is reminiscent to the sky at dusk.

China Glaze Too Yacht to Handle
OPI Dating A Royal
Sinful Colors Black on Black


These pictures were after a days worth of wear, so that's why they are kind of dinged up if you look close.
More aboutTwilight Gradient

Precision Oasis Collection

Hi guys! Today I'm bringing you a new brand to the blog! Not necessarily a new brand (they've been in business for 30 years) but they are new to ME, as I have never had access to this brand before.

They have sent me their Oasis Collection in order to review, so here we go. Overall it's quite subdued and hints at fall or autumn in my opinion. In general, I find their bottle design to be appealing and the brush is of standard quality making it easy to get an even application.

Free of Toluene, Formaldehyde, & DBP

The Oasis Collection can be purchased for $5.95 each.

Sandstorm
4 thin coats pictured. A pale beige with yellow undertones. I feel like this is one that can be worn when you need a quiet palate cleanser. Fewer than 4 coats however was slightly streaky. I would recommend allowing for a minute of dry time between coats, this seems to help combat streaks.


Sahara Deserted Me
3 coats pictured. A warm nude with pink undertones. Creme finish.


Been There Dune That
3 coats pictured. Nude/ light taupe color with brown undertones. Creme finish.


Comparing these three side by side,  you can see the difference in the undertones. It seems like it could offer a perfect nude for any skin tone.


Sage
2 coats pictured. Light and muted army green. It also has silver shimmer. No problems with application here. I love this color for the fall.


   You're in De-Nile River
3 coats. It reminds me of chocolate. :)
This one immediately reminded me of OPI You Don't Know Jacques, so a comparison is below.


Comparison with Wet N Wild Wet Cement & You Don't Know Jacques


Scorpion King
2 coats pictured. Perfectly easy application. Charcoal/black with loads of shimmer.


What do you think? Do you have any Precision Lacquers in your stash?

More aboutPrecision Oasis Collection

Nails Inc - Leather Effect - Noho (black)

This kit includes a unique matte/leather effect nail polish, studs, crystal skull embellishments, and crystal rhinestones. Very rockstar! The kit also includes nail glue and 2 wooden cuticle sticks.

This kit can be found for sale here on Sephora's website for $25.


The polish applies very easily. I found I got the best "leather" effect with 2 thin coats. When I used thicker coats, the particles didn't show a texture as well. It's like they got lost the more polish I used.


 Then I added some of the crazy cool rhinestones and embellishments from the kit.


I'm afraid the big crystal skull would not have any practical wear time because it's simply too flat. My nail beds are curved and any little thing could have snagged it off.

I also painted it on one of my cousins that was in town for the weekend and used some gold circle studs that I had lying around. You can see the difference here in how you apply the polish. The hand on top was with thin coats, the hand on the bottom ended up being with slightly thicker coats and that polish has a much glossier look and less textured.
*These products were provided for review*
More aboutNails Inc - Leather Effect - Noho (black)

Color Club Halo Hues - Over The Moon & Beyond

Color Club Halo Hues are the beautiful new holographic polishes that you may have seen floating around on blogs. They can be found for sale on the Color Club website here for $10 each.

Over The Moon
Light blue linear holographic. 2 coats in the sunlight.
GORGEOUS!


Indoors with flash

 I read where others have had success with these polishes and stamping. So here I used Over The Moon to stamp BM313 over Beyond.

Beyond
2 coats in sunlight. Black linear holographic.


Indoors with flash.


Here I used Beyond to stamp BM313 over Over The Moon.

The formula and application was superb. Amazing for a holographic polish. I didn't experience any of the dragging and patchiness that happens with other holographic polishes. 
The dry time is fast and easy to work with.

*These products were sent for review as part of the Color Society Bloggers Network*
More aboutColor Club Halo Hues - Over The Moon & Beyond

Mint & Coral Chevrons

Inspired by "Nail It!" Magazine, the new nail polish/nail art magazine for non-professionals! It's wonderfully entertaining to read. All of the latest ads from big brands showing off the new collections, interviews with skilled professionals, tips and tricks, nail art tutorials, and beautifully photographed nails! The magazine only costs $11.95 for the entire year! So subscribe now, it's a steal!

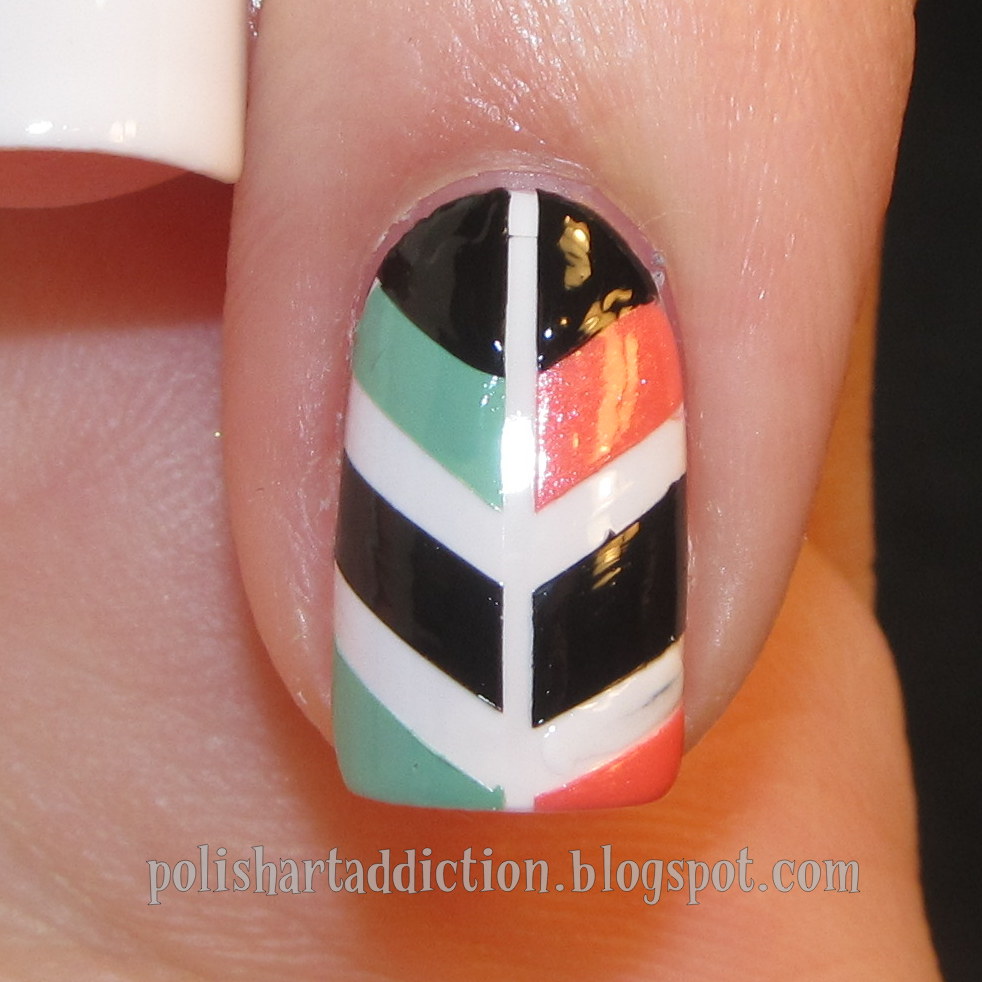
I immediately knew I wanted to recreate this look that was pictured on page 105 of the March premiere issue. The combination of mint and coral is very on trend, along with the chevrons.

I started out with the intentions of copying the entire design, but once I got into it.... I realized it was simply going to take toooooooooo long! So I broke it down and just painted the rest of my nails with a basic hint at the design.

 My thumb was white with a black triangle half moon.

Here is the pinky design, plus a picture by picture tutorial!

1. Paint your nails white and let it dry (I used Sally Hansen Lavender Cloud). Then apply the striping tape as shown. 
2. Fill in the negative spaces with the corresponding polishes: Sinful Colors black striper, Orly Ancient Jade, & China Glaze I Wanna Lei Ya.
3. Use your black striper to freehand the half moon triangle.
4. Remove the tape and top coat!

Here is the index finger design.

1. Paint your nails white and let it dry (I used Sally Hansen Lavender Cloud). Then apply the striping tape as shown. 
2. Apply the mint and coral polishes. Orly Ancient Jade & China Glaze I Wanna Lei Ya.
3. Apply the black striper polish, just freehand the half moon area.
4. Remove the tape and topcoat!

So pretty!

More aboutMint & Coral Chevrons