Showing posts with label Nail Art. Show all posts

Because Matching your Nails to your Black Milk Leggings is a Thing Now

(**China Glaze Press Sample**)
Hello darlings and happy Wednesday! 

  It is a dark, Grey and gloomy day here in (what is supposed to be) Sunny Florida. I don't know about you guys, but bad weather makes me a sad panda. I get so lazy, slow and just plain out of it. I know I can't be the only one lol. Anywho, if you follow me on Instagram (@L_T_H_P), you know of my obsession with all things Black Milk Clothing. I am simply addicted to the shiny nylon goodness. Everything they make is so unique, fun and colorful. 
Mermaid Leg and Nails photo DSCN6224_zps0ab9933f.jpg
  I own about Seven pieces from Black Milk Clothing. Two of my favorites are my mermaid legs. I own them in Purple and Silver holo. I seriously want everything in this fabric, in all colors. I am so obsessed with anything mermaids. The "scales" are craaazy holographic. It was very hard to capture in my photos. Every time I wear my Black Milk pieces I always get so many compliments. I just adore their clothing to pieces. 
  So I really wanted to match my nails to my Silver mermaid legs, because you know, that is entirely a thing. 
BM Mermaid Nails photo DSCN6259_zpsa0ee6929.jpg
 I had to take this pic in weird lighting to get the holo to come out, the Sun was long gone at this pont. SO, for my mermaid nails I started with a base of China Glaze's Cosmic Dust from the Hologram collection. This is a lovely shade of light Gunmetal grey holographic awesomeness. For my mermaid scales stamp I used Red Angel stamping plate RA-111 and Konad Black special polish. I topped off my nails with some Seche Vite and called it a day. They were a perfect match to my fierce leggings. 
Long view Mermaid legs and nails photo DSCN6236_zps3150f504.jpg
  Here is a shot of my base color Cosmic Dust. This holo has a nice-ish formula. As it applies it looks a bit frosty and streaky, but as it dries the streaks and frost disappear and turn into holographic awesomeness. I used Three thin coats to achieve evenness and full opacity. In the photo below I had not top coated my nails yet. When added a top coat, it did mute the holo finish just a bit. Sorry about my weird-looking skin here, I had a hard time capturing the holo effect properly. 
China Glaze Cosmic Dust photo DSCN6189_zps263dd71a.jpg

Do any of you guys own any Black Milk clothing pieces? They are seriously amazing. Oh and for shiggles, here is a pic my husband took of me last time I wore my Silver mermaid legs. I had the huge honor and fangirl moment of having Black Milk share this photo on their Facebook fanpage. That same day they had also shared one of my photos on their Instagram as well. It was so surreal having my favorite clothing line share my photos with their fans!
 Oh and for the record, there was no photoshopping done to this photo. This photo is a cellphone pic. I am naturally slim and will not make any apologies for it. People called me anorexic, a bad role model because I'm "too thin" blah blah blah.. WHATEVER. Us girls can't win.. We're too thin, we're too fat.. What is right then? Me, I'm happy with myself, I am happy with my body and I will flaunt it while I have it. My tattoo was done by tattoo artist Robbie Ludders of Sarasota, Florida. 
BM mermaid back photo 1044875_10201347073823003_1968279474_n_zpsefc14e16.jpg
Thank you so much for stopping by today my loves!! I'm off to see about doing an Independence Day mani. What is everyone wearing for the holiday?

(**China Glaze press sample**)

More about → Because Matching your Nails to your Black Milk Leggings is a Thing Now

Kissy Lips

This cute design can be found on the QA28 image plate from Born Pretty. It can be found here for $1.99. That's a great deal!

I first painted my nails with China Glaze Dance Baby, then stamped using Kleancolor Metallic Pink.

 I used all 3 full nail images. I put the smallest lips on my pinky. The plate was easy to use and gave me a crisp clean image each time. I'm really excited to figure out an idea to use the mustache images.... A brainstorming session is needed!
If you end up shopping at Born Pretty - here is a coupon code:

More about → Kissy Lips

Pink-ish Wednesday! Ombre Fun with Inglot Colour Play Nail Polishes

(**Inglot Press Samples**)
Happy Humpday!!

 It's only been about an Eon since I've done a Pink Wednesday... So, here is a Pink Wednesday post ♥. A few weeks back I received the Inglot  Colour Play pastel range. These babies are perfect for ombre manis, they really take the guess work out of picking your shades. For this look, I also went back to my roots by doing some stamping. I used my Pueen Love Elements nail stamping plate set.
Inglot Ombre Stamped with Pueen photo DSCN5568_zps002535d4.jpg
 This look features Inglot Shades, from Thumb to Pinkie: 388, 387, 386, 385 and 384. For the stamping I used Konad Black Special polish and Pueen stamping plates Pueen 32 on my Middle and Ring finger and Thumb. For my Pinkie and Index nails I used Pueen 28. To finish my nails off I did a coat of Seche Vite followed by a light coat of IN Northern Lights. 

 Here are my base colors before stamping and top coating. 388 is a clean, light Lilac purple creme. 387 is an aweome Blue toned bubblegum Pink creme. 386 is a muted Violet- Mauve creme. 385 is a light Pink- toned Mauve creme. 384 is a beautiful muted Coral creme. All of these polishes have a slight flash of smooth complimenting shimmer. You can see the Golden shimmer in the bottle photo above. That said, the shimmer does not really translate to the nails, but it does aid in appication. All of these were really easy to apply and all did well in Three, thin and easy coats.  
Inglot Ombre photo DSCN5542_zps316d620a.jpg
 I miss stamping so much. But at the same time, I'm pretty excited because I have all of these awesome Pueen plates that I have not really gotten to play with yet. So I have those to look forward to :D. I have been terrible about keeping up with plates honestly, if you guys know of any sets I may have missed out on, or new brands, share them in the comments!! 

 So, I am LOOOVING these Inglot Colour Play range. I love them so much, they have even earned a spot on my wall racks. These are great for nail art of all kinds and I just love the formulas and beautiful shades.

Thanks for stopping by darlings! 
More about → Pink-ish Wednesday! Ombre Fun with Inglot Colour Play Nail Polishes

Another Gradient

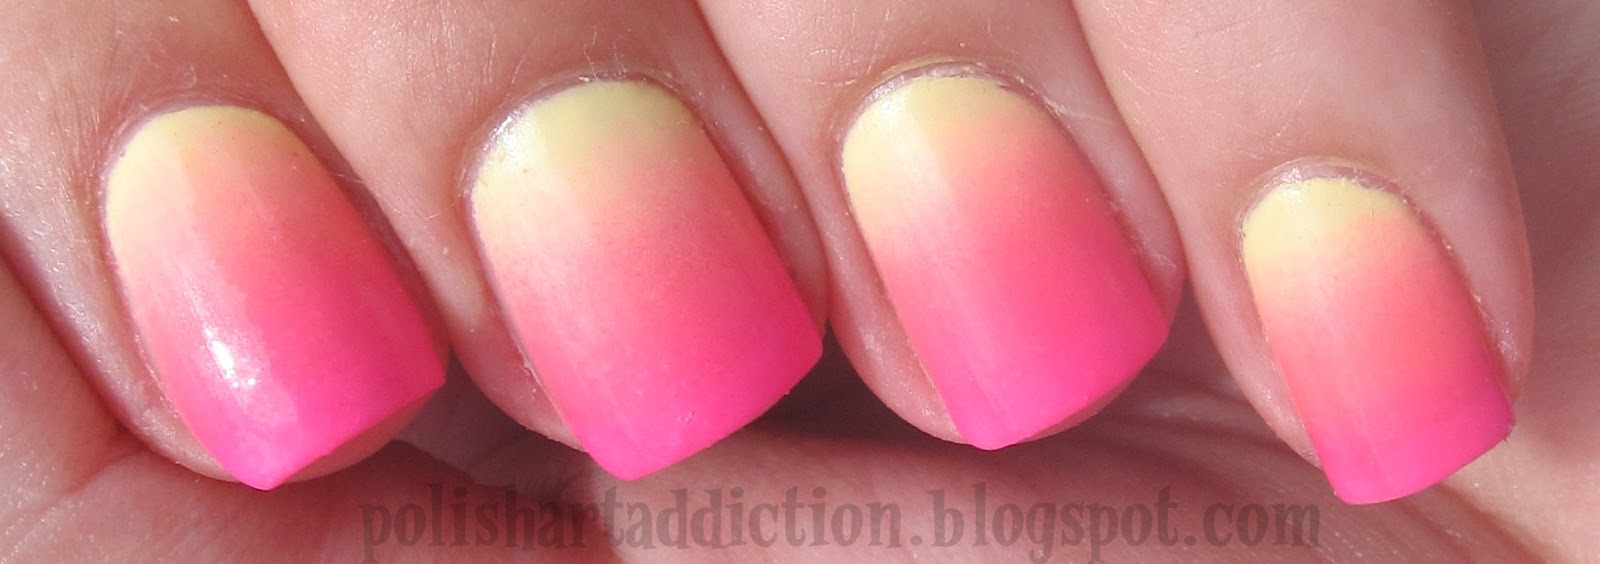
Apparently I've been on a gradient kick lately. Here is one I did with a few of my China Glaze jelly neons.
I started with theBalm's Mellow Yellow, then China Glaze Shell-O, & You Drive Me Coconuts. I used a slightly dampened triangle makeup sponge..


More about → Another Gradient

Gradient Pedicure

A quick look at my current pedicure.
It's a gradient with China Glaze Too Yacht To Handle, Color Club Power Play, & Sinful Colors 24/7
The black I used is Sinful Colors Black on Black. 
The stamp is from Bundle Monster BM03. I applied a single black rhinestone to the center of the image.

More about → Gradient Pedicure

Chevrons With Craft Scissors

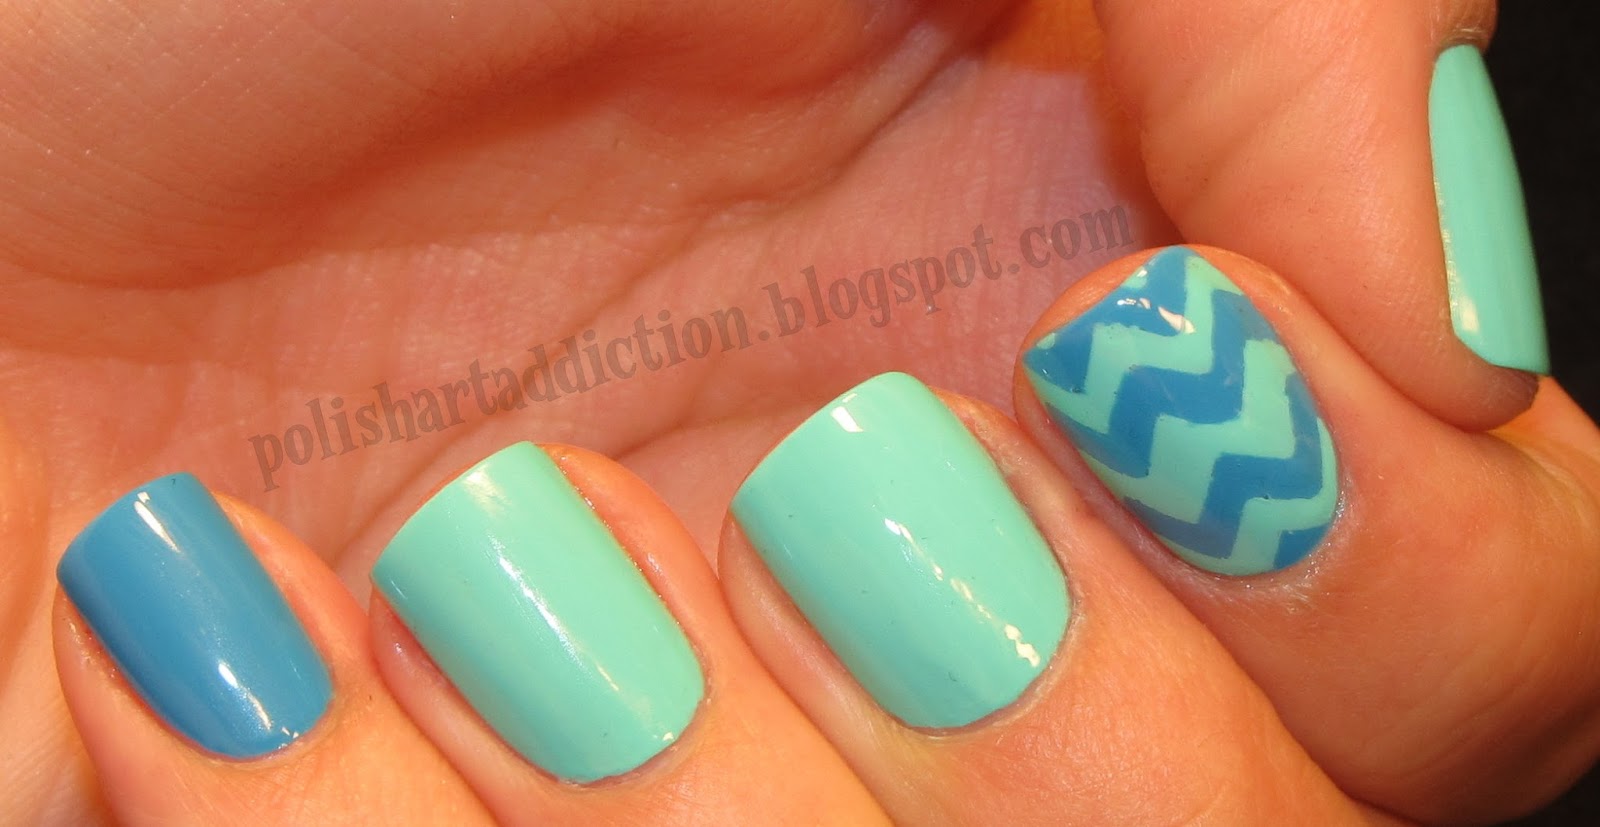
These colors compliment each other so well! China Glaze Too Yacht To Handle & Sunday Funday! I did a simple mixed up look with two accent nails of chevron pattern. For the chevron nails I just cut some strips of scotch tape with those zigzag crafting scissors to mask off the chevrons.


 These got a lot of attention at work!
More about → Chevrons With Craft Scissors

KBShimmer Totally Tubular Inspired Nail Art

(**Press Samples**)
Hello everyone and happy Thursday! 

  Today I have a crazy busy manicure haha! I'm kind of calling this my "kitchen sink mani". I just couldn't stop doing things to my nails. The whole idea originated from my bottle of KBShimmer's Totally Tubular. I kept swirling it in my hands and being hypnotized by the amazing blend of colors and shapes. And so this mani was born, inspired by the beautiful colors in Totally Tubular. I will be sharing swatches of KBShimmer's full Summer collection very soon! 
KBShimmer and Bettina photo DSCN6090_zps03c78e5e.jpg
 On my middle nail is Totally Tubular by KBShimmer. I will be reviewing the polish itself soon. For now, I really want to focus on this colorful nail art that got me through my days at the Mayo Clinic.
  So, as I mentioned above, the nail art itself was inspired by the colors in Totally Tubular. I loved the mix of Teals, Magentas and Blues. So, on all my nails but my middle nail I did a White base of Cult Nails Tempest. For my water marbled nails I used Bettina Aqua, Pink Bikini and Premium Wash. I then topped off my marbled nails with O.P.I Polka.com.
 For my gradient nails I used Bettina Picnic, Sparkle and Glitter Jean. I topped off my gradient nails in Aphrodite Lacquers V.I.P Room. I finished off the entire manicure by topping all of my nails off with some KBShimmer Clearly on Top and then some INM Northern Lights sparkle top coat.

 I CANNOT believe I forgot to take pics of my thumbs! I really loved how the marble pattern turned out on them. I had never been able to get a full flower design on my nails before! So, I'm so sorry, but here are some crappy cell pics of my thumb marbles. I think they were about Four days old at this point. 
 photo 135f4825-398b-409f-802c-a7e181cf6cac_zpsb0533691.jpg
 I loved wearing these nails. My days at the Mayo Clinic were really intensive, exhausting and not entirely successful.. But my nails were looking FIERCE the whole time. I got so many compliments from  people while I was there. It was nice to have the distraction of my colorful nails and hair while I was going through all that stuff. 

  Oh and some cool stuff happened right before the Mayo trip. I got to meet the awesome Kelly of vampyvarnish.com!! It was an awesome lunch meeting with my Florida beauties and Kelly. Thank you Courtney for the lovely photo!! From L to R: Steph of Imperfectly Painted, myself (goodness I need to do my roots soon!!), Maria of Cult Nails, Kelly of Vampy Varnish, Kari of Once Bitten and Courtney of Phyrra. 
Thank you all for stopping by today!! If you have any questions about Mayo, feel free to ask in the comments, I will try my best to answer them. I just didn't want to get into all that in the post itself. 

XO!
More about → KBShimmer Totally Tubular Inspired Nail Art

Twilight Gradient

Not like the movie Twilight, just in that this is reminiscent to the sky at dusk.

China Glaze Too Yacht to Handle
OPI Dating A Royal
Sinful Colors Black on Black


These pictures were after a days worth of wear, so that's why they are kind of dinged up if you look close.
More about → Twilight Gradient

Mosaics

I wanted to experiment with a random pattern of striping tape to get a mosaic look. I felt like these colors made for a unique combination.

I used Sinful Colors Snow Me White (let it dry THOROUGHLY) then masked off the geometric shapes with striping tape. I then filled in each section with polish and removed the tape before it had a chance to dry much. 

The polishes I used were: 
  • China Glaze Lemon Fizz
  • Orly Ancient Jade
  • Sinful Colors Rainstorm
  • China Glaze Passion For Petals
  • China Glaze Sea Spray


More about → Mosaics

Feather Bright

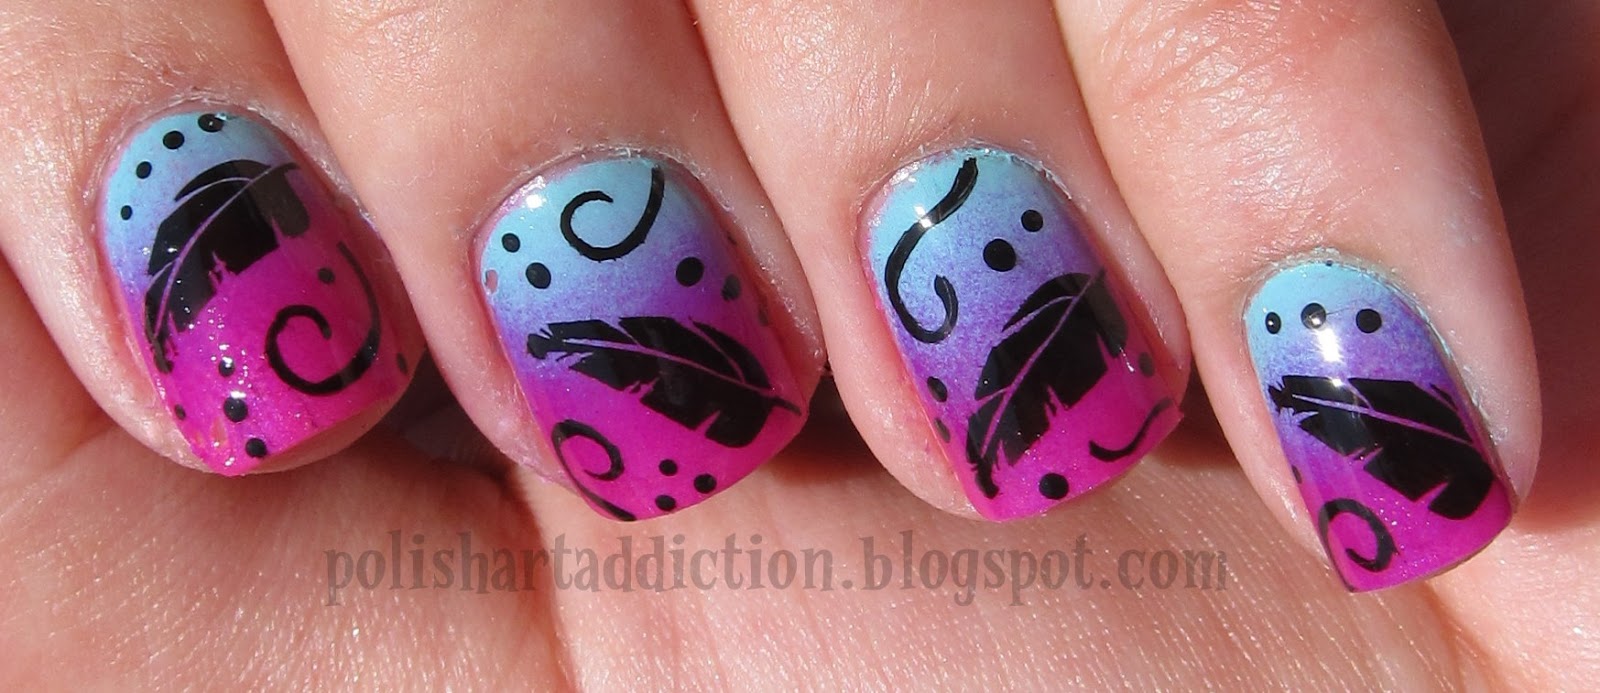
Here is a bright, almost neon gradient look I worked up for an afternoon by the pool.

I used China Glaze Too Yacht To Handle, Color Club Power Play, & Orly Oh Cabana Boy for the gradient. Then the feather stamp is from Bundle Monster BM15 and I used Konad black polish for stamping. I freehanded the other swirl & dot details with a black striper polish.


Here is a swatch pic of just Too Yacht To Handle. It is a close cousin to For Audrey, but with a brighter kick. I can justify having both ;)

More about → Feather Bright

Mint & Coral Combo

I can't seem to get tired of mint and coral as a color combo. For this look I threw in some lilac and black for a funky striped skittle mix.
I used China Glaze For Audrey, Rimmel I Lilac You, & the coral is a franken I made up. For the accent nail I used a base of white polish and then striping tape to mask off the stripes of varying widths. The black polish was just my Sinful Colors black striper polish.


More about → Mint & Coral Combo

Dots & Hearts

Simple, but inspired by a Pinterest find. (here)
I used China Glaze Laced Up and Precision Sandstorm. The black details were done with a dotting tool and Sinful Colors Black on Black.


More about → Dots & Hearts

Braceface Nail Art

This was a great suggestion from LittleMonsterx14. I remembered this cartoon once she suggested it! I really enjoyed it growing up. 
Some info from wikipedia:
 "Braceface is a Canadian animated series that aired on Teletoon in Canada, and on Disney Channel and ABC Family in the United States, as well as Pop Girl in Australia. It is produced by American actress Alicia Silverstone. Sharon Spitz is the main character of the series. Like most girls, Sharon sometimes does get into trouble and messes up like every other teen, but she always learns from her mistakes and sets things right in the end, no matter what the situation. Sharon is also known to be a clumsy girl and, would usually end up embarrassing herself somehow."

My poor planning lead to her face not fitting entirely on my nail. I wanted to include her cute smile since her braces were the whole point behind the title. So I just made braces run across the tips of my other nails. The blue is China Glaze Bahamian Blue and the rest are acrylic paints.

 Her face came out a little jaundiced looking because the yellow paint doesn't agree with anything being put on top of it. So the yellow from her hair bled through the beige face color by the time I took my pictures.


More about → Braceface Nail Art

Tough Girl

I chose to an edgy look for this one. Combination of pink, a girly bow, and barbed wire.

These rhinestone bows can be found for $2.98 at Born Pretty.

The wheel comes with 12 individual bows. (Mine had a freebie extra black bow that was loose within the bag this wheel was sealed in. Bonus Jonas!)

I used Wet N Wild Pom Pom Kelly layered over a white polish to make it pop. 
Then I stamped black with BM 323.

These bows are quite big. I put it on my middle nail because it was just too overwhelming to the others.

They are completely flat, no curve to them. This makes them hang and catch on every little thing. This can get annoying very quickly.

More about → Tough Girl

Tale Spin

Were you a fan of Tale Spin? The series with characters adapted from "The Jungle Book," I chose to focus on the logo and Baloo.

 Base polish is Essie Navigate Her, all the rest of the details were done with acrylic paints.

More about → Tale Spin

Neon splatter/shredded/hair spray marble

I tried to play around again with the shredded effect/hair spray on a water marble (first attempt was here) I wanted to see if I could mimic this look from amkuch15, white base with neon splatter.
This is Sinful Colors Snow Me White, Wet N Wild Pom Pom Kelly, & Wet N Wild Nerd Alert: Screech.


I first tried layering 4 different neon shades, but I couldn't get consistent splattering sizes so it was just a garbled mess. :( Too, this entire process was a big pain in the butt. These 4 nails took me several hours. No joke! It was ridiculous. Maybe it was the particular aerosol hairspray I was using, but sometimes it would just create big spots in the polish, then the next time it would blow all the polish to the edges and shred it into tiny little specks. So frustrating.
More about → Neon splatter/shredded/hair spray marble

Bonkers Nail Art

Another cartoon look. This one is lesser known, but I remember being a fan. 
It aired from 1993-1995 on the Disney Channel. 
From wikipedia - "The premise of the series was that Bonkers D. Bobcat, an anthropomorphic bobcat who was a popular cartoon star had washed out of show business and became a cop. He was made the junior partner of Detective Lucky Piquel, a grim and ill-tempered human who hates toons. Throughout the series, the pair work together to solve crimes in the Hollywood, Los Angeles, California region. Bonkers repeatedly tried to win Piquel's praise, but usually just ended up ruining missions with his antics."

I painted Bonker's face on my thumb nail, then my ring nail is an outline of a police shield with the logo name across it. Polishes used - Orly Snowcone, Shimmer Polish Maria, OPI Honey Ryder, & Kiss Nail Art Striper in black. All the rest are acrylic paints.


More about → Bonkers Nail Art